Radon Foundation Access: A Critical Step for Effective Mitigation in St. Louis
When I first started working in radon mitigation, the thing that surprised me most wasn't the science behind soil gas or the health risks. It was how often a homeowner would call me ready to fix a radon problem, only to find their basement had no practical way for us to install a system. The issue usually came down to one thing: radon foundation access. You can have the best fan system in the world, but if you cannot reach the concrete slab to install a radon inlet, you are stuck before you start.
In St. Louis, where radon levels can be elevated due to the region's geology, this is a real concern. I have walked through countless crawl spaces and finished basements where the only path to the slab was blocked by walls, flooring, or stored belongings. Radon foundation access means having a clear, accessible area of the concrete slab where a contractor can drill, insert a suction point, and run PVC piping to a fan system. Without that access, mitigation becomes a far bigger project, and costs can climb quickly.
What Radon Foundation Access Actually Means
Radon foundation access is not a technical term you will find in an EPA handbook. It is more of a working phrase that mitigation professionals use to describe whether a home's foundation allows for a straightforward sub-slab depressurization installation. Sub-slab depressurization works by creating a vacuum beneath the concrete slab, drawing soil gas away from the building and venting it safely above the roofline. For that system to work, you need a spot to drill through the slab and place a radon inlet. If that spot is under a finished wall, behind a built-in cabinet, or beneath a glued-down floor, radon foundation access is poor.
In my experience, homes built with radon-resistant construction from the start often have better access because the builder planned for a future mitigation system. But most older homes in St. Louis were not built that way. That means the first step in any mitigation job is evaluating the basement or crawl space for a good access point. Sometimes it is as simple as clearing a corner of the basement. Other times it requires cutting through a finished floor or moving a mechanical room's contents.
Why Access Matters for Sub-Slab Depressurization
The heart of a radon mitigation system is the sub-slab depressurization setup. You drill a hole through the concrete slab, dig out a small cavity below it, and insert a radon inlet. From there, PVC piping runs to a fan system, which creates the suction. The fan exhausts through a pipe that goes up and out of the home. If you cannot reach the slab to drill that hole, you cannot install the system.
I have seen situations where a homeowner wanted to avoid disturbing a finished basement. They had poured a new floor over old concrete, installed tile, or built a partition wall right over the best location for an inlet. In those cases, radon foundation access was essentially zero without major demolition. The alternative was to run the system through an exterior wall or a crawl space, but that is not always possible. Every job is different, and that is where experience counts.
A good mitigation contractor will spend time walking through the basement with you, looking at the layout, and discussing options. They will check if the concrete slab is exposed anywhere, even in a utility closet, a mechanical room, or a corner behind the water heater. If there is a small area of bare concrete, that can be enough. But if the entire slab is covered with flooring or blocked by permanent structures, you may need to create access by cutting and patching the floor afterward.
Post-Installation Verification and the Role of the Manometer
Once a system is installed, the work is not done. Post-installation verification is a critical step that confirms the system is actually reducing radon levels. The standard method is to place a continuous radon monitor in the lowest livable area of the home and run it for at least 48 hours. This gives a real-time picture of radon levels before and after the system starts. I have seen systems that looked perfect on paper but failed to drop radon levels because the suction field under the slab was weak. The manometer, a simple U-shaped tube filled with colored fluid, tells you whether the fan system is maintaining negative pressure under the slab. If the manometer shows no pressure difference, something is wrong. It could be a leak in the PVC piping, a broken fan, or poor radon foundation access that prevented a proper seal around the inlet.
Sealing is another detail that gets overlooked. After drilling the hole for the radon inlet, the gap between the pipe and the concrete must be sealed tightly. If it is not, the fan will pull air from the basement instead of from beneath the slab. That reduces the system's effectiveness. Good sealing around the inlet and along any joints in the PVC piping is essential for the whole system to work.
Radon in Water: A Separate but Related Issue
While most of my focus is on radon in soil gas, radon in water is also a concern for some homes in the St. Louis area. If a home uses a private well, radon can dissolve into the water and be released into the air when you shower, wash dishes, or run the tap. The mitigation approach is different, often involving activated carbon filters or aeration systems. But here again, radon foundation access matters for the soil gas side. Even if you treat the water, you still need to address the radon entering through the foundation. The two problems are separate, but they share the same underlying cause: radon in the soil around your home.
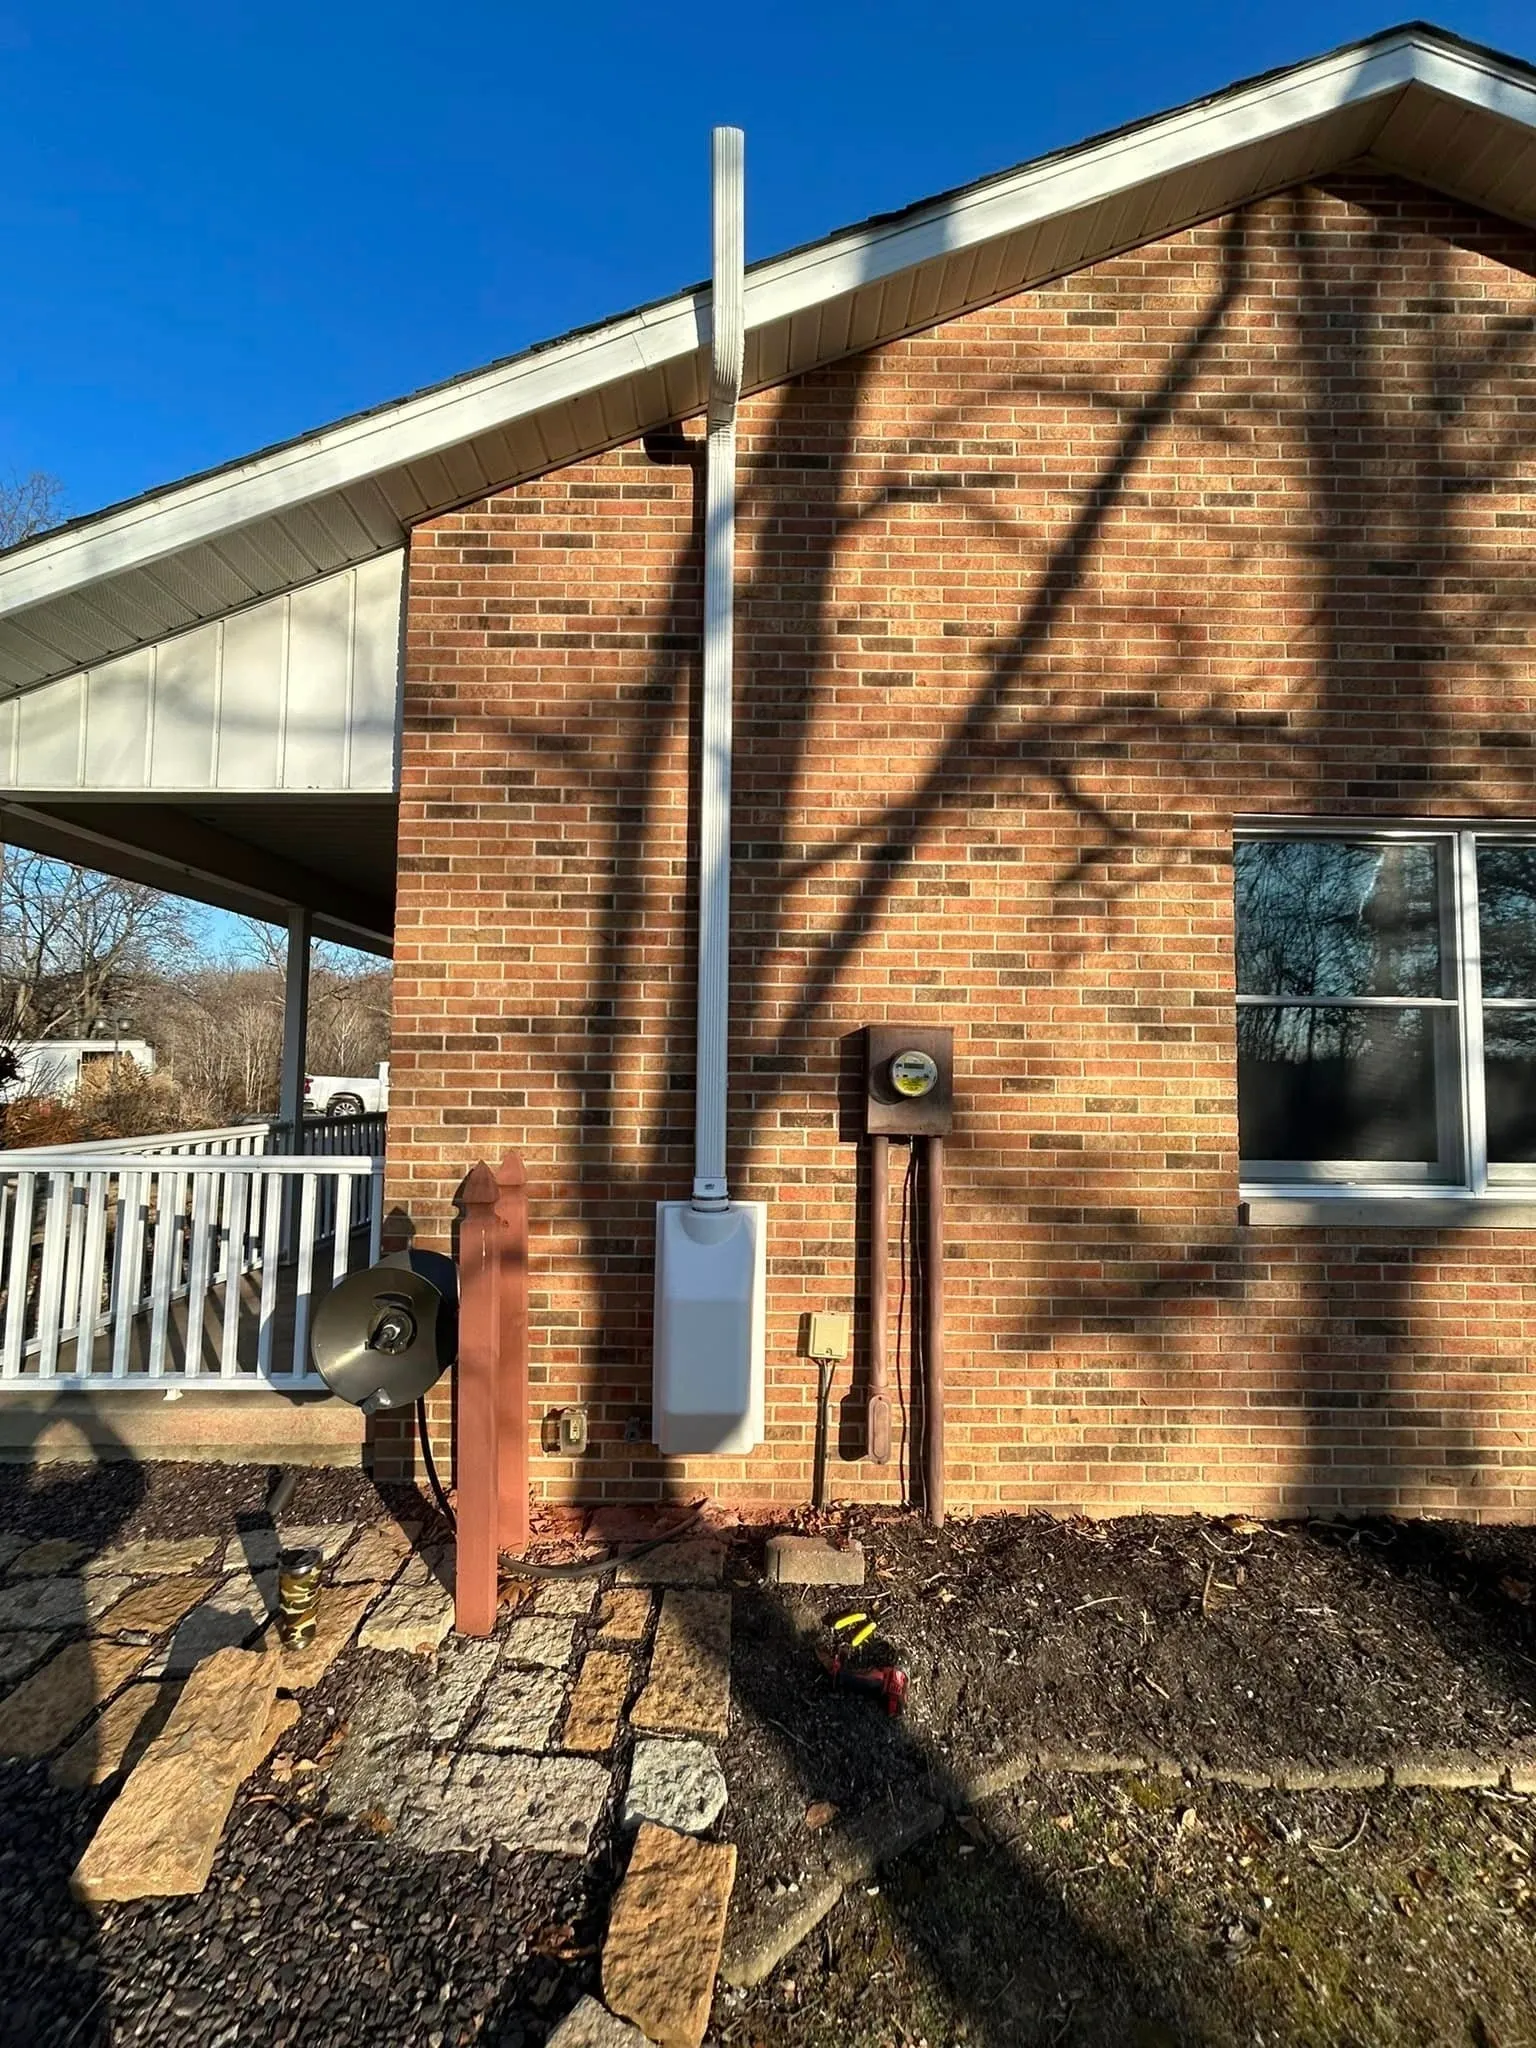
I remember a job in a suburb of St. Louis where the homeowner had already installed a water treatment system for radon. They were frustrated that their indoor air levels were still high. When I looked at the basement, the concrete slab was covered with a thick epoxy coating that had been painted over. There was no obvious way to install a sub-slab system without damaging the floor. We ended up cutting a small access panel in a closet, running the PVC piping up through a wall, and patching the floor afterward. The homeowner was not thrilled about the patch, but the post-installation verification showed radon levels dropping by over 90 percent. That was the trade-off: a small cosmetic change for a big health benefit.
Health Department Guidance and the EPA Standard
The EPA recommends that all homes be tested for radon, and if levels are at or above 4 picocuries per liter, action should be taken. In St. Louis, the local health department often provides radon test kits at low cost or for free. I encourage homeowners to start with a simple radon test kit to see where they stand. If the test comes back high, call a mitigation professional and ask about radon foundation access during the initial consultation. A good contractor will be honest about what is possible given your home's layout.
The Value of a Mitigation Warranty
A reliable mitigation company will offer a mitigation warranty on their work. This usually covers the fan system, the PVC piping, and the manometer for a set period, often five years. It also includes a guarantee that the system will keep radon levels below the EPA action level. If levels rise again, the contractor comes back to troubleshoot. This warranty is only as good as the installation, and a big part of that is how well the system connects to the foundation. If radon foundation access was compromised, the system might not perform as expected, and the warranty becomes harder to honor. That is another reason to prioritize access from the start.
I have seen cases where a homeowner tried to save money by having a handyman drill a hole and install a pipe without understanding the principles of sub-slab depressurization. The system looked fine, but the manometer never moved. When I checked, the hole was drilled in a spot where the soil below the slab was compacted clay, so the suction field barely extended beyond the inlet. The handyman had not dug out enough soil beneath the slab. A professional knows to create a small cavity below the inlet so the suction can spread. That cavity, combined with good radon foundation access, makes the system work.
In the end, radon foundation access is one of those practical realities that separates a smooth mitigation job from a difficult one. If you are building a new home or finishing a basement, keep a small area of the concrete slab exposed near an exterior wall. That simple step gives you or a future contractor an easy path to install a system if radon ever becomes a problem. For existing homes, the best advice is to have a professional evaluate your basement early. Do not wait until after you have finished the walls and floors. Test first, plan for access, and then install. It saves time, money, and frustration.
Air Sense Environmental has handled many of these jobs across St. Louis, and the common thread in every successful installation is good planning around radon foundation access. Whether it is a crawl space or a finished basement, knowing where and how to reach the slab makes all the difference. The science of radon mitigation is well established, but the craft lies in adapting it to each home's unique layout.